CCD Astronomical Imaging Using dedicated cooled camerasDavid Ratledge |
IntroductionThe arrival of CCD imaging cameras has revolutionised astronomical imaging for the amateur and professional astronomer. The quality, range and power of equipment available to the amateur imager today is mind blowing. Unlike consumer cameras, the cost of dedicated cooled CCD cameras has remained high - they are not mass produced devices so will probably remain expensive.
These cameras from specialist manufacturers range form around £1500 to £10,000 and more. There are cheaper cameras from a variety of manufacturers from around £500 but with physically very small chips.
The purchase of a dedicated camera is therefore a serious decision and, with the advent of cheaper digital SLRs, one to be taken only when the imaging bug bites deep! They are however, unmatched if the target is faint deep-sky objects where their very high quantum efficiency makes them the only serious option. For narrowband imaging they are un-rivaled - all of the chip will be recording a signal unlike DSLRs.
For the highest in quantum efficienies CCDs still out -perform CMOS imagers. The latter have much of thier electronics on the chip surface which impedes photon collection. One often overlooked benefit with CCDs is on-chip binning. This allows pixels to be combined and matched to telescope focal length/resolution. These "super" pixels only have a single read-noise component whereas CMOS chips, when binned, will have the read-noise for each individual pixel.re
|
 |
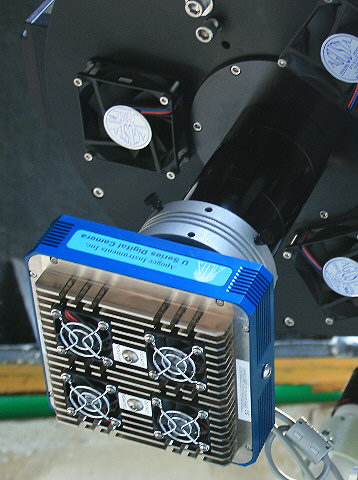
Apogee CCD camera |
Cameras Hardly things of beauty but their performance is awesome - very few photons escape! I have used cameras from SBIG, HiSIS, Apogee, QHY, Starlight Xpress and FLI. They feature mostly the same chips but come in a variety of cases. For faint deep-sky objects they are really the only option. One thing to be aware of with cooled cameras is the possibility of condensation forming inside the camera. Some makes are more prone than others and if you observe from a damp location, ie other than the New Mexico desert, then it is probably the most important factor (above cost!) to consider when comparing manufacturers. Remember condensation is a show stopper! Forums are good way of finding out how good they really are. My current camera is an Apogee as their recent cameras have a sealed chamber with a life time guarantee against the seal failing and condensation forming inside the camera. Some other maufacturers take a different approach and rather than sealing the camera use a desiccant to dry the air that gets in. I know which I prefer for our damp Lancashire climate! |
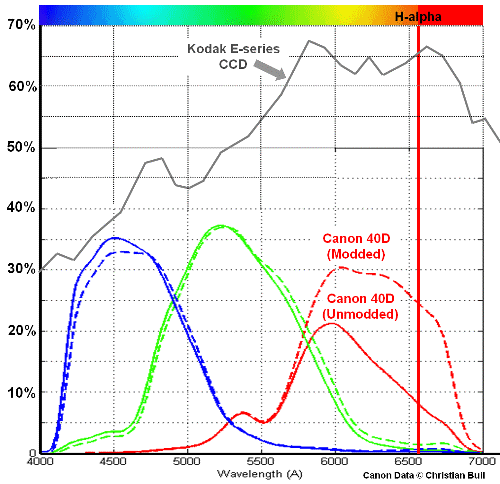
Quantum Efficiiency. Canon 40D and Kodak E-series CCD compared. |
Quantum Efficiency Where dedicated CCD cameras score over DSLRs is their higher quantum efficiency (QE). This is most evident in the red and H-alpha in particular. The Kodak E-series have a QE of 65% for H-alpha whereas for a modded Canon 40D it is around 25%. However, comparing the QE of mono CCDs and one-shot colour DSLRs is like comparing apples with pears - it is not as simple as it might appear! In the early days of CCD imaging, colour images were produced by the RGB method ie 3 images sets were taken in turn with a R, G and B filters. Using this simple technique has little advantage over a one-shot camera - either a dedicated CCD type or a DSLR. The real gain only occurs if using the LRGB method. As it does also for narrowband imaging. By using the LRGB method, the L, luminance, has the maximum signal-to-noise ratio possible for our equipment as we are using every pixel at every wavelength at full efficiency. We are collecting as much light as we possibly can! The same is not true for a one-shot colour device. However we will have to spend time collecting the RGB information - time that the DSLR user saves and therefore, allows him more time for collecting his colour image. Complicated isn't it! For narrowband imaging it is no contest. The mono camera will use every pixel to collect the signal irrespective of what wavelength is being imaged. For example, for DSLR cameras, when taking H-alpha images only one pixel in 4 is recording a signal. |
|
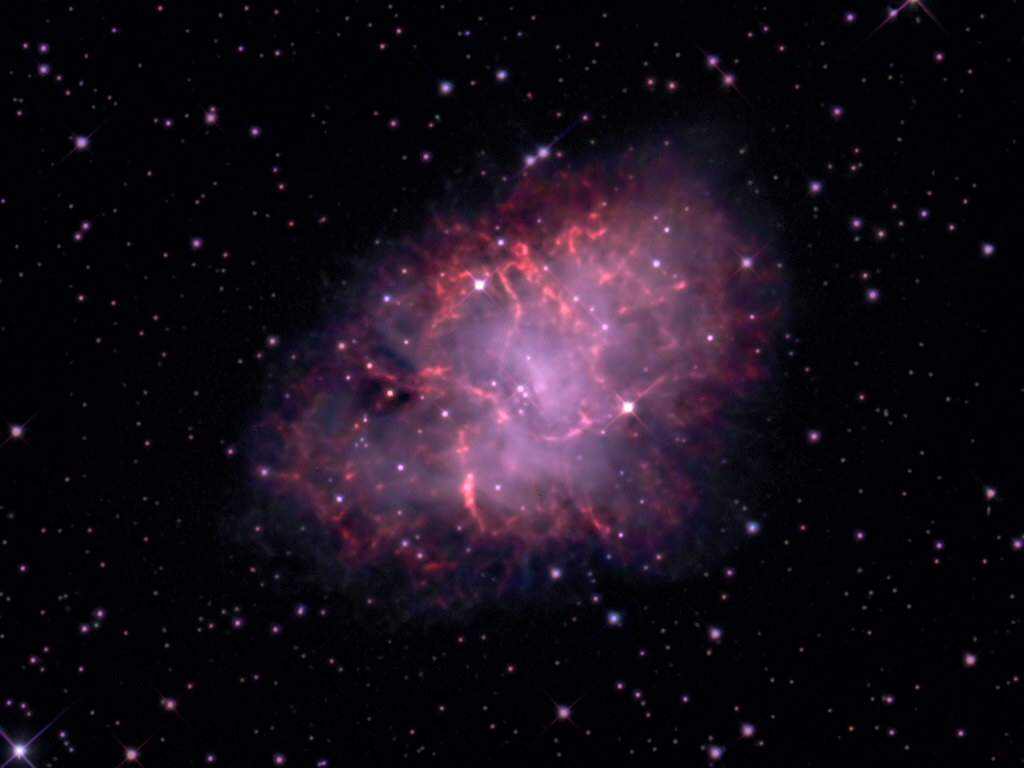 Crab Nebula |
One much overlooked aspect of dedicated CCD cameras is their near infra-red sensitivity. In fact almost 50% of their sensitivity can be in the infra-red. Using no filters or ones that pass IR can double the sensitivity of the camera. You will need optics that can focus the IR though - RC telescope are ideal for this having only reflecting surfaces. See Infra-red imaging for more details.
|
Software
|
I mentioned elsewhere that you would spend more time processing than imaging. In Britain that is not difficult but it is true generally. There are several software packages available from freeware to expensive-ware! I use both freeware (IRIS) and Maxim.
|
|
For starters I would recommend IRIS. It is written by Chritian Buil who pioneered amateur CCD imaging. It is difficult to learn and requires much reading but it does virtually everything. It is constantly developing and if it doesn't do something today I bet it will tomorrow! It has recently been expanded to cover DSLRs and solar imaging!
|
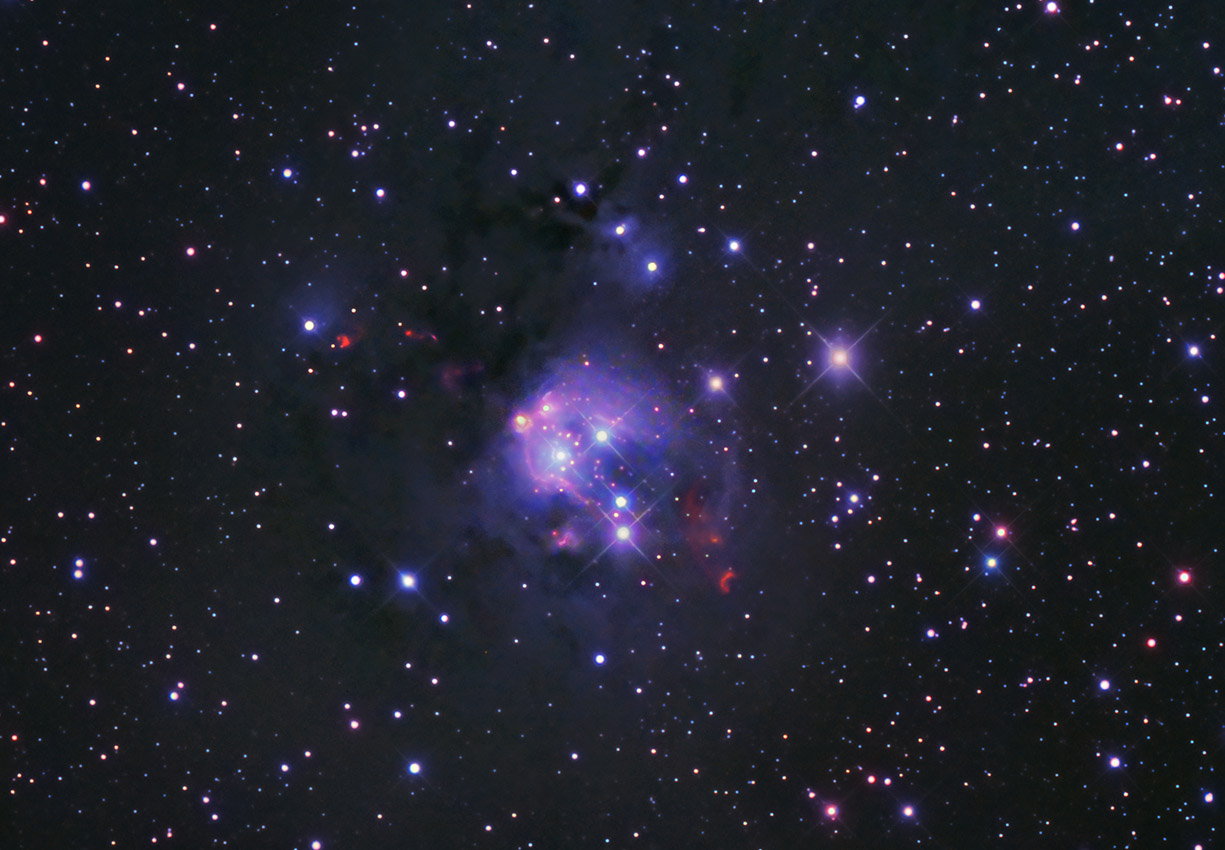
The Bubble Nebula
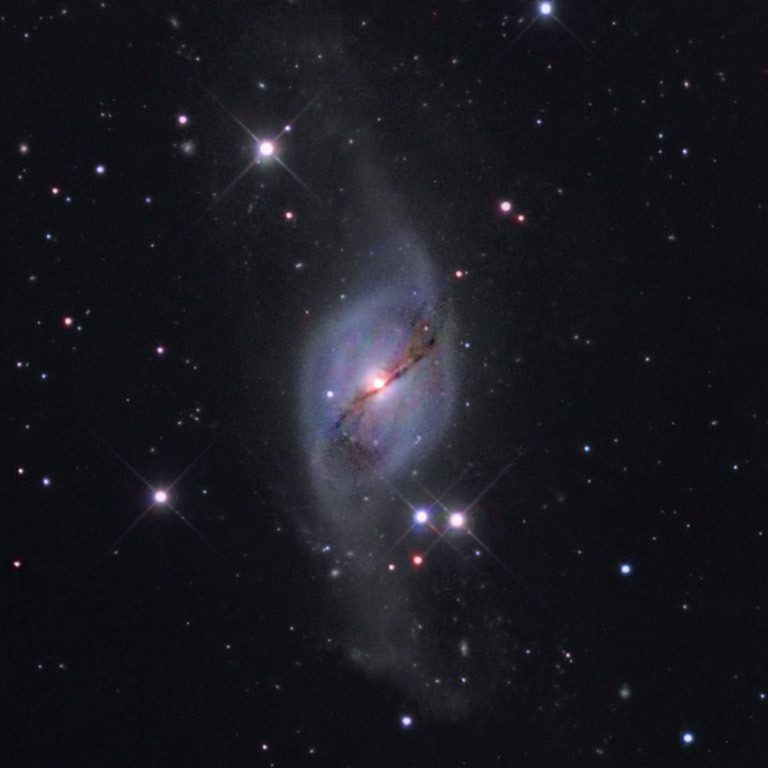
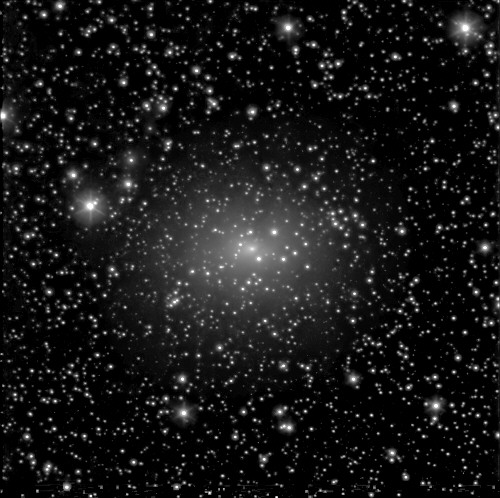
NGC5907 |
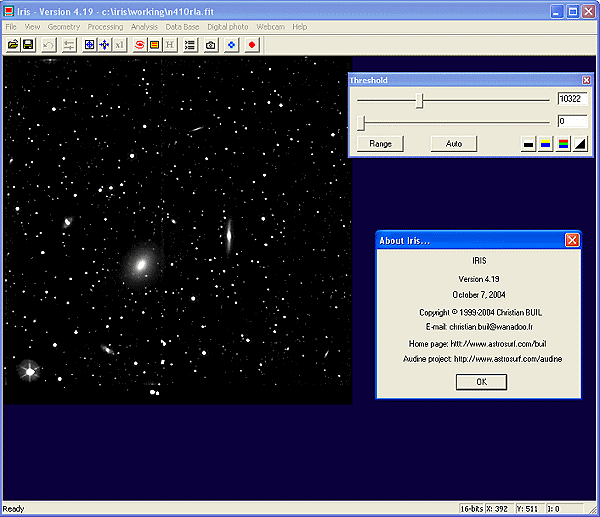 Iris
Iris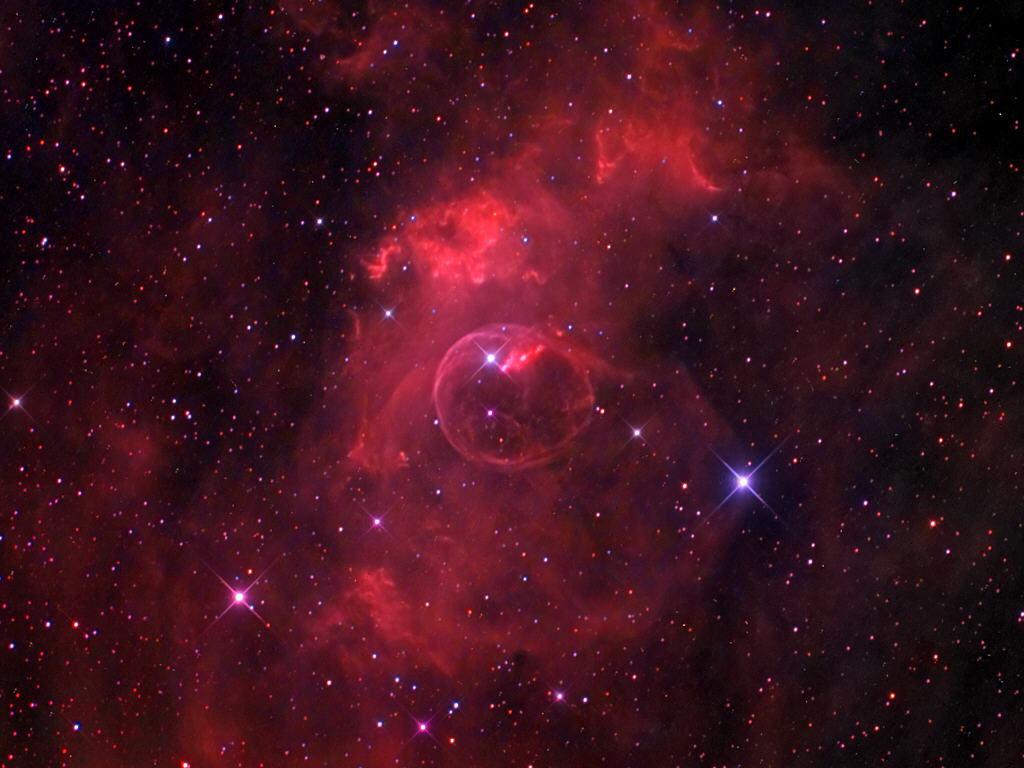

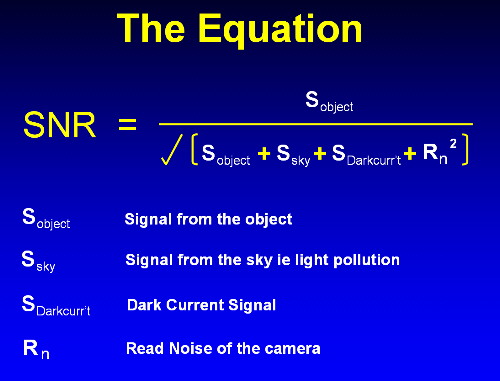
| Signal to Noise - the key to great images |
Probably the most important factor in getting the best out of our camera is maximizing the “signal-to-noise” ratio, SNR. It is frequently thought, particularly by those new to CCDs, that because they are more sensitive than film then only short exposures are needed. However, whilst it is true that an exposure of just a few seconds will produce some results and reveal the target object, there is a world of difference between such an image and one that has maximized the SNR. The former will be heavily speckled and gritty, the latter smooth and with a wealth of subtle detail. The reason is of course that all important signal-to-noise ratio. The signal part of SNR is the easiest to understand and is simply the number of photons recorded by the photosite or pixel. Noise is not quite as easy to grasp. Here something called “uncertainty” rears its head. Detecting photons has an inevitable randomness – repeating the identical observation will not produce exactly the same numbers. This unpredictability, which can never be totally removed from a signal, is called noise. Note this subtle definition. An unwanted signal that can be removed is not noise. Dark current is therefore not noise but the random element embedded in it is! This is a common misconception, which you will often see repeated. Now the good news. If we increase the signal, by whatever means such as a longer single exposure or multiple exposures, then the signal increases faster than the noise. We can fight back. You don't have to understand the maths involved, just the consequences of each source of noise. So here is the simplified equation for SNR:
This assumes we have properly pre-processed our images ie we have calibrated them using multiple darks, biases and flat-fields. Now, we can improve the SNR by increasing the nominator (top line) and/or by decreasing the terms in the denominator (bottom line). So we can make some geralisations: 1. Increase Sobject: More signal required so shoot for longer and/or more sub-exposures. Or buy a bigger telescope. Or a camera with bigger pixels. Binning is an alternative to actually having a camera with bigger pixels. 2. Reduce Ssky: Dark skies are obviously best so if you are sub-urban located either travel to a dark site or use light pollution filters or go narrowband. 3. Reduce Sdarkcurrent: Cool the camera or shoot on cold nights. A fan can help cool DSLR cameras. 4. Reduce Rn: Choose a camera with low read noise. This one of the reasons Canon DSLRs are so good. Shooting longer-sub exposures reduces the effect of Rn. The most common question I get asked is how long should sub-exposures be. Putting real numbers in the above equation for your telescope, location and camera will give an answer but do you use the numbers for the bright part of the object or the faintest? However, we can make some simplifications. The sub-exposures need to be long enough to render the Rn term (remember it is squared) insignificant compared to the signal. For my set-up that equates to 10 minutes sub-exposures with a light-pollution filter and 20 minutes if narrowband. Longer would be better but 20 mins is a fairly practical limit. Note on pixel size and binning: Binning 2x2 increases the SNR per pixel (new bigger pixel compared to original size) by approximately 2 times (see this link). In addition the bigger pixel has a single read noise component whereas the individual pixels would have had one each. So full resolution comes at a price, therefore always maximise pixel size commensurate with your site resolution. Don't worry if the maths are troublesome - just shoot plenty of long exposures! |
|
Imaging Books |
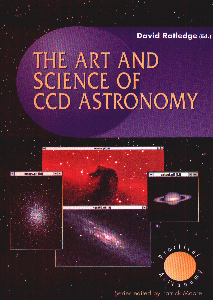
I couldn't not mention books. Whilst reading webpages is great for a quick overview, nothing can compare to a good book! Fortunately there are two good ones I can recommend which feature leading astro-imagers from around the world:- The Art & Science of CCD Astronomy - available from Sky & Telescope and quite often secondhand. Still the best introduction and the first imaging book with a colour section!
|
|
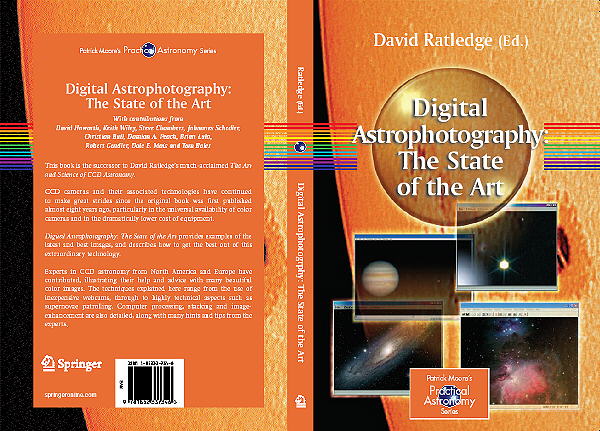
Digital Astrophotography - NEW and covers Webcams, Afocal consumer cameras, DSLRs, Planetary imaging, Deep-sky imaging, Spectroscopy and Supernova discovery. This is a full colour book - again a first ! Digital Astrophotography - The State of the Art Order Online
|
 |